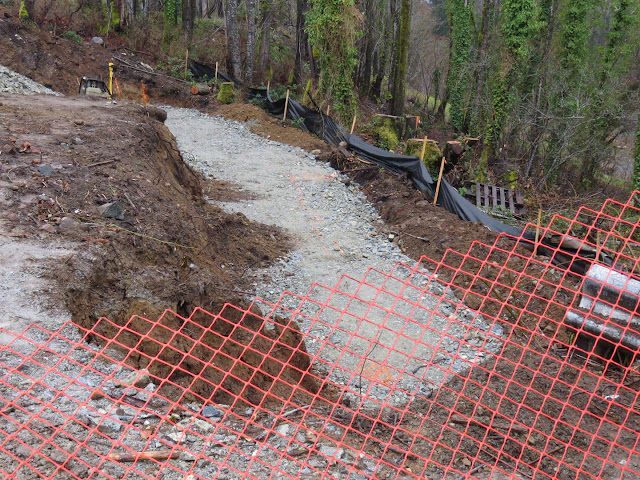
It's been over two months since I last wrote. Our house build progress has been slow, but, steady. First, the ground was poked and prodded by our geotechnical engineer to determine the location of the 'hardpan'. Unlike in Ontario, where the Canadian Shield predominates and solid granite is usually easy to find, in British Columbia, to locate a suitable place for house footings they look for the top of the glacial till layer where the ice-age glaciers scraped the soil clean leaving a hard, dense surface. There was good news and bad news. The good news was that the hardpan layer was close to the surface and easy to find on the north side of the lot. Where the lot started going downhill on the south side of the lot, the layer was deep. It wasn't just bad news, it was very bad news because it wasn't just a matter of excavating a trench through the soft layer and putting in a wall. All the loose soil underneath and adjacent to the house location had to be removed and replaced with a new gravel mix that could be compacted into a dense, stable, supporting layer.
.JPG)
And, so it began. The dump truck came and went fifty-five times! It took away twenty-seven loads of beautiful, rich, topsoil and replaced it with twenty-seven loads of crushed gravel. Drains were laid at the bottom of the pit. Each load of gravel was spread out and compacted using a hand compactor. Between each layer landscape fabric was laid, which helps to stabilize and link together the whole construction. We needed six rolls of fabric, each was $1,500. The first load of blocks arrived and the wall started to take shape.
Two B-train loads of blocks were required, 152 blocks in total. Each block is 40 inches x 20 inches, weighs 1,200 pounds and had to be placed with an excavator.
We knew we might need a retaining wall, but, we didn't think it would need to be this huge. It ended up ninety feet long and in places is ten feet high, all backfilled with new ground material. Over half the wall is buried, so, it doesn't look that massive from the downhill side and from the uphill, house level side there will only be about a foot visible above-ground. We did gain some extra usable level ground with the wall build, one small blessing. Although it took over 10% of the entire house budget to build, there was very little satisfaction once it was done, it was just a necessary evil before we could get on to the actual building of the house.

.JPG)
.JPG)
.JPG)
.JPG)
.JPG)
.JPG)
.JPG)
.JPG)
.JPG)
 CONTINUE READING
.JPG)
.JPG)
.jpg)
.jpg)
.JPG)
.JPG)
.JPG)
.JPG)

